|
| Pumps/powerheads |
 |
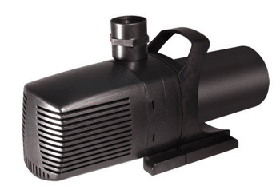 |
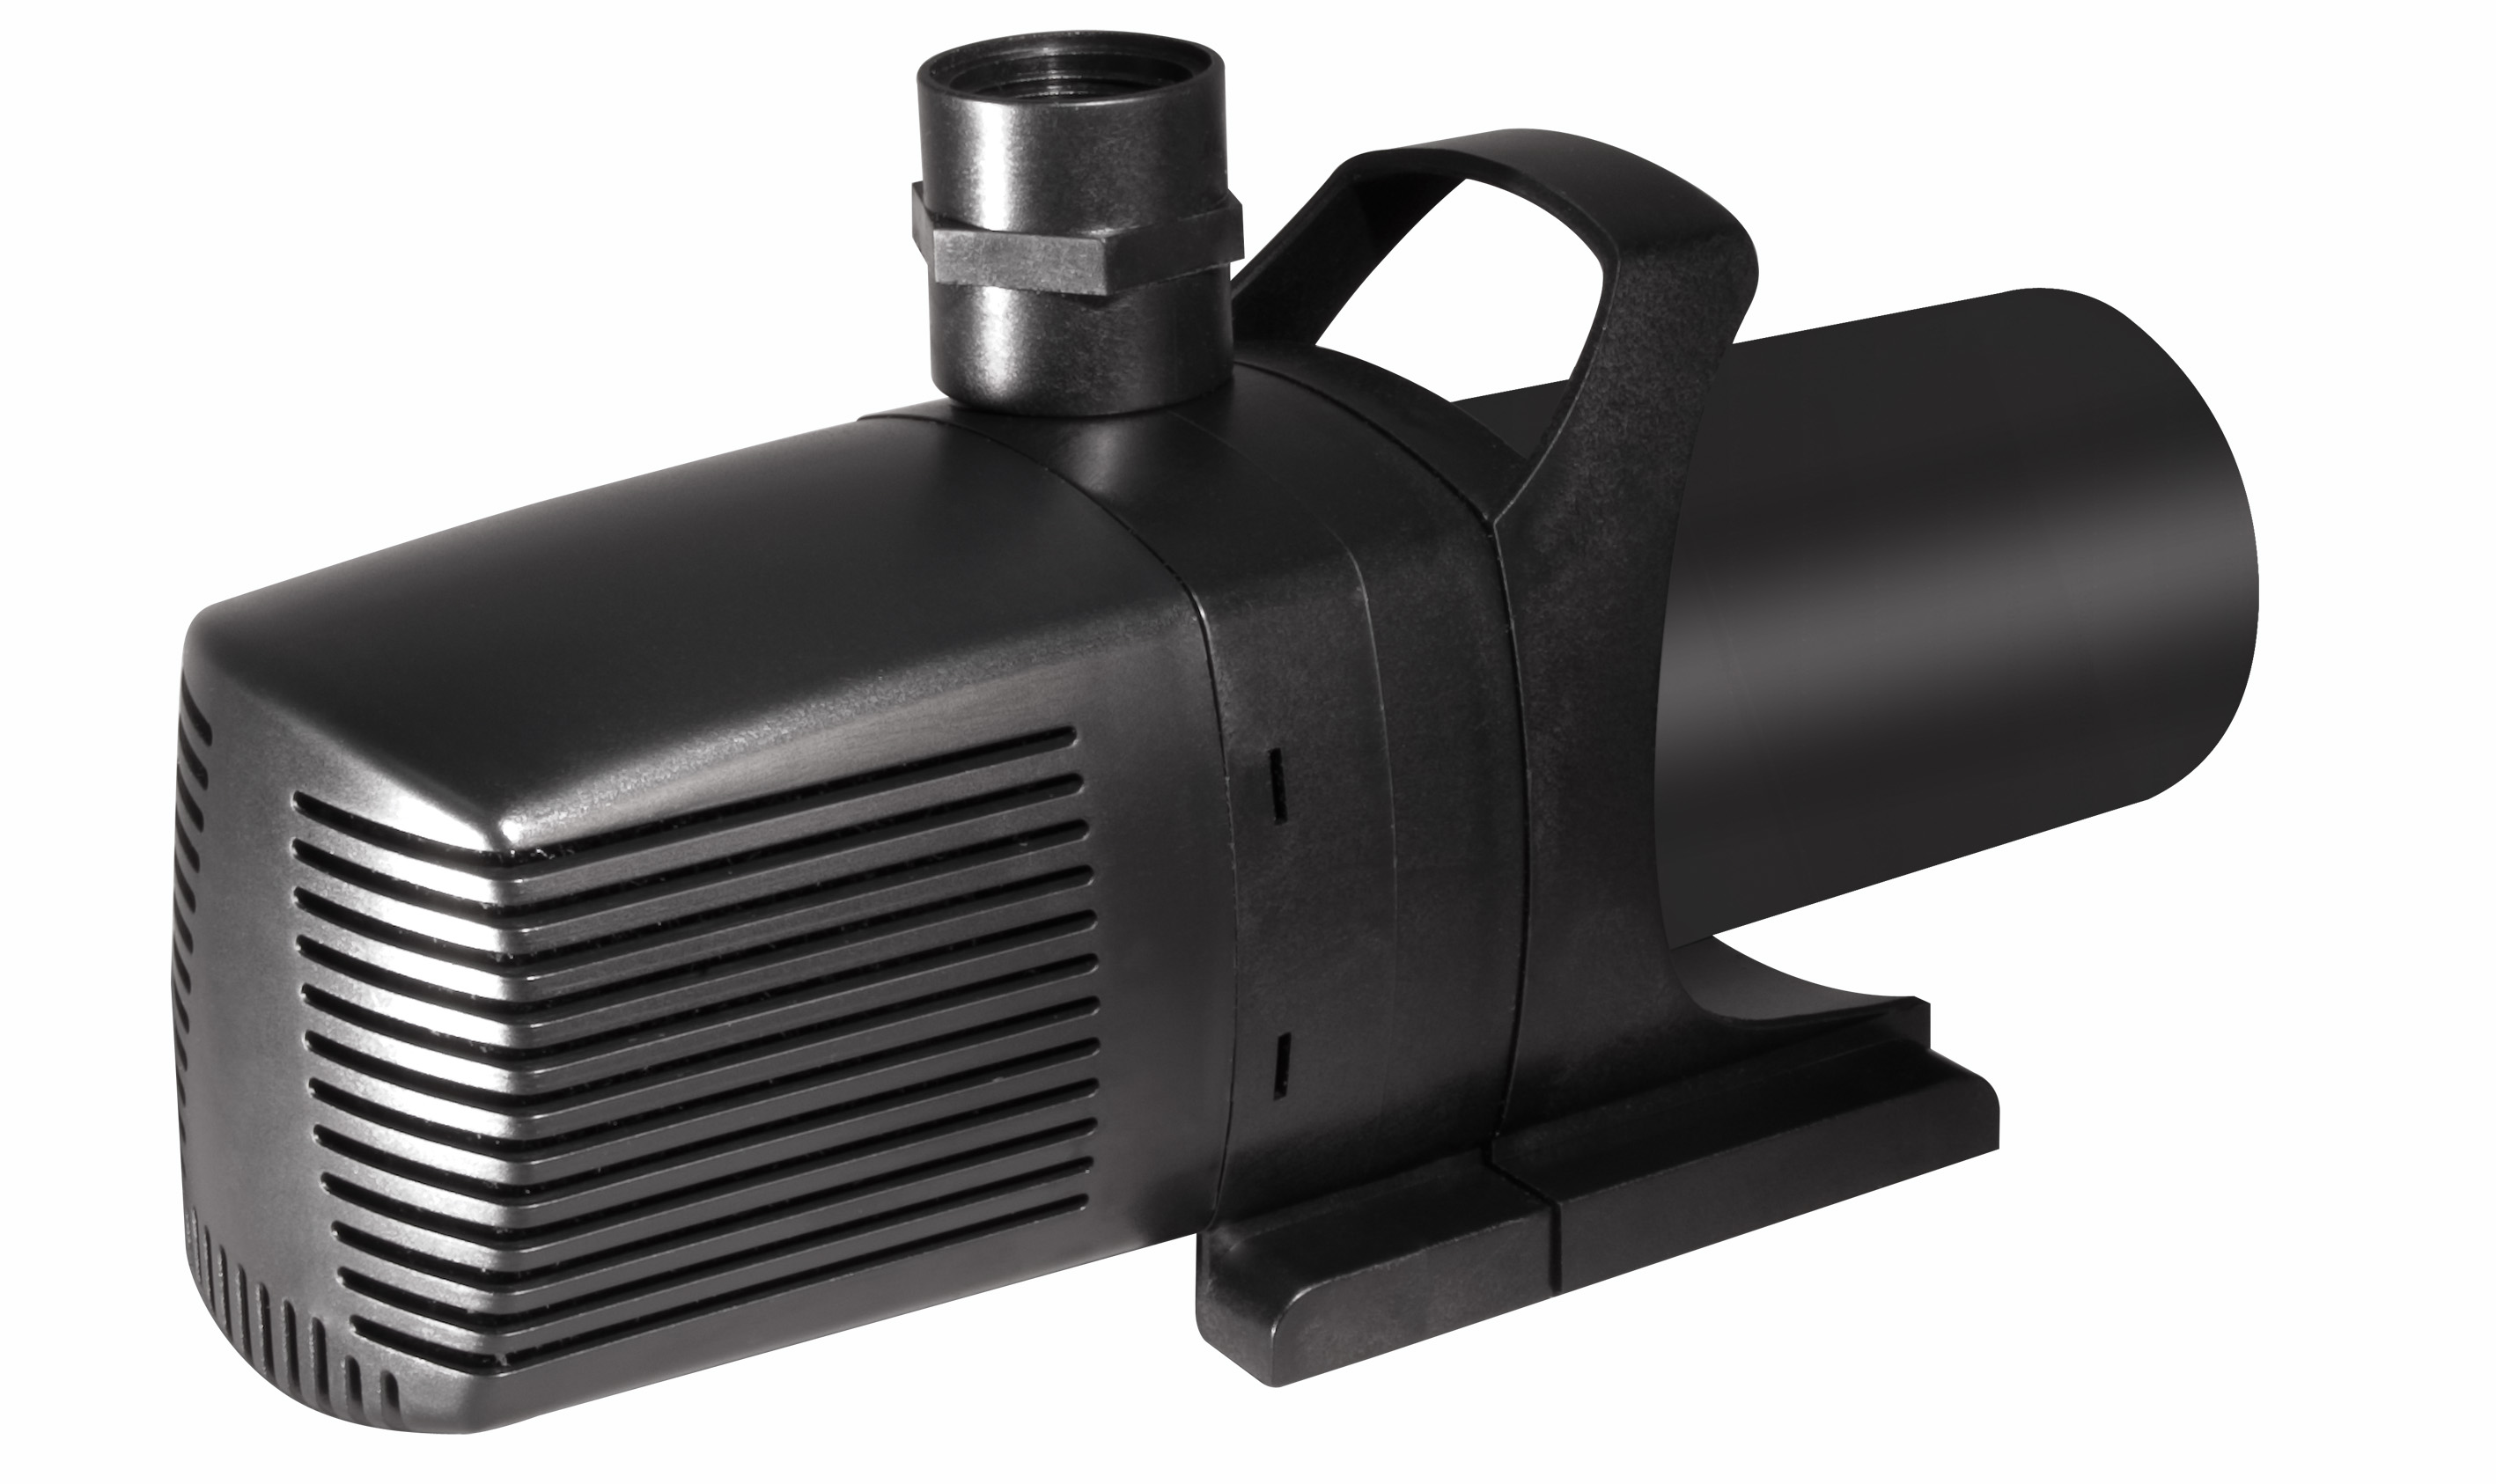
| Hydrant Pumps |
- Multi-purpose submersible and external energy efficient for aquarium and pond pump
- Thermally protected
- Internal and external operation
- Pre-filter hose fittings included
- 16 ft. grounded cord
- For indoor and outdoor use
- Extremely quiet
|
|
|
| |
- Models
- Parts
- Installation
- Maintenance
| Item no. |
Dimension
(L x W x H) |
Flow rate |
max. head |
wattage |
UPC# 0069037 |
| MP 5500 |
12.5" x 4.75" x 5.75 " |
1536 GPH |
10.5 in. |
117 w |
1073 2 |
| MP 6500 |
12.5" x 4.75" x 5.75 " |
1810 GPH |
12.5 in. |
124 w |
1071 8 |
MP 7500 |
12.5" x 4.75" x 5.75 " |
2019 GPH |
13.5 in. |
127 w |
1081 7 |
| MP 8500 |
12.5" x 4.75" x 5.75 " |
2069 GPH |
15.1 in. |
165 w |
1072 5 |
| MP 9500 |
12.5" x 4.75" x 5.75 " |
2510 GPH |
10.5 in. |
192 w |
1080 0 |
|
|
|
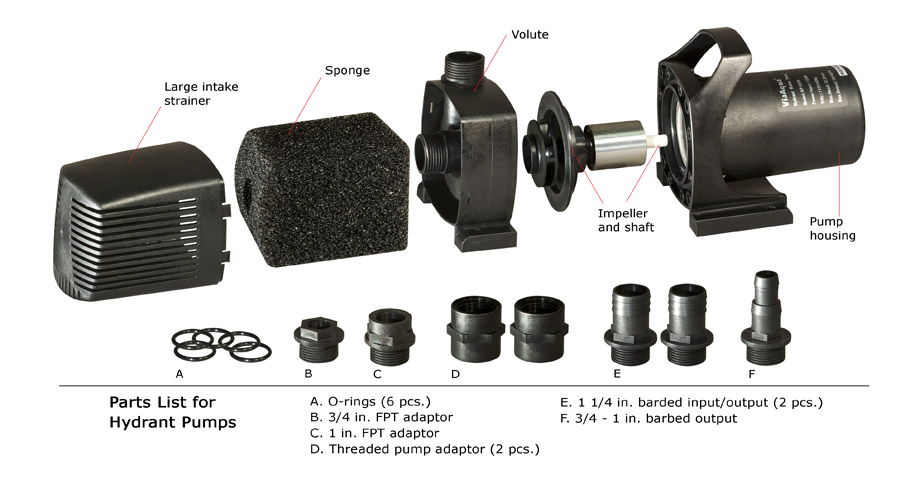
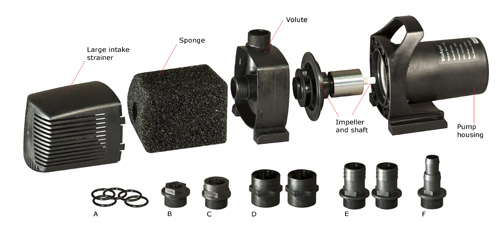 |
A. O-rings (6)
B. 3/4 in. FPT adaptor
C. 1 in. FPT adaptor
D. Threaded pump adaptor (2)
E. 1 1/4 in. barded input/output
F. 3/4 - 1 in. barbed output |
In-line or submersed operation
Follow all safeguards and safety guidelines:
- Verify that the pump size fits the application without dramatically restricting the flow. Consult with your local dealer or manufacture’s guidelines fro the size pump needed for your specific application.
- Do not reduce the input diameter of the pump
- You must incorporate a prefilter when operation for a water circulation, waterfalls, ponds and fountains.
- Replace the impeller if there are any signs of damage or excess wear.
- Failure to maintain a ViaAqua pump will cause permanent damage to the impeller and/or pump. Routine maintenance is of the utmost importance to keep you pump working well.
Internal operation: Submersed
- Place pump in the desired location
- If place in a pond: Raise the pump off the bottom of the pond by a min. of 6 inches when installing.
- Use Teflon tape to connect the threaded pipe adapter to the output of the pump.
- Place the gasket onto the barbed pipe adapter, now using Teflon tape hand tighten the barbed pipe adapter to the threaded pipe the adapter.
- Connect the flexible tubing to the barbed pipe adapter. Insure water tightness with a hose clamp
In-line Operation: External
- Place the pump in desired location
- Using Teflon tape connect the threaded pipe adapter to the intake and output of the hydrant water pump.
- Place a gasket on the barbed pipe adapter, now using Teflon tape hand tighten the barbed pipe adapter to the threaded pipe the adapter.
- Connect the flexible tubing to the barbed pipe adapter. Insure water tightness with a hose clamp.
- Verify that there are not any kinks in the tubing
- The intake must have an adequate strainer. Do to the water flow of the pump a large strainer is required.
If you have problem opening PDF file from Internet Explorer,
please try Firefox or right click on the link and select Save Target As and save the PDF file in your computer. |
- Disconnect the pump from the GFCI power supply prior to removing the pump from the water
- Remove the prefilter and rinse the prefilter sponge of all debris
- With a Philips screw driver loosen the four screws on the volute. Now remove the volute.
- Once the volute is removed clean well. Now verify the impeller is free of all dirt and debris.
- Remove the impeller and clean well.
- Reassemble: It may be necessary to add a small amount of silicone lubricant to the gasket in the volute to insure a proper seal.
Note: If the water flow decreased, it is a clear sign that debris is in the impeller well or the prefilter is clogged. It is the aquarist’s sole responsibility to ensure the pump is maintained. Failure to do so will cause permanent damage to the pump.
|
|
|
|
|